


Set it up. Dial it In. Sounds easy, right? Leupold professional shooter Garett Schwindel shares 3 things you need to know to get up and running with your new red dot sight.
You just got a brand new AR or pistol, picked out the red dot you've been eyeing, and now are ready to hit the range. But how do you go about getting everything setup properly? We called in a heavy hitter in the Close Quarters Battle (CQB) training world to dish out some some tips.
Garett Schwindel served in the elite 2nd Ranger Battalion, 75th Ranger Regiment and has 14 deployments under his belt. While serving, he also acted as a U.S. State Department Lead Firearms Instructor. This means he didn’t just use the gear, he instructed thousands upon thousands of US military members, private contractors, and foreign military and police on how to use it, as well. Here’s three things you need to know to get up and running.
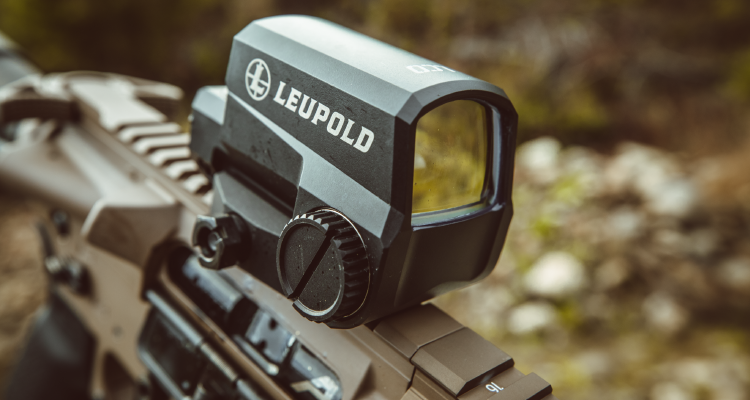
When mounting a red dot, location on the firearm is key.
I tend to mount mine towards the rear of the firearm. Why? Less weight on the end of the gun gives you more barrel control. It allows you to snap the weapon up quicker when acquiring a target. It also allows for quicker deceleration when stopping on the target.
Another reason I prefer mounting my red dot towards the rear of the firearm is that the closer the window of the red dot is to your eye, the larger your field-of-view will be when looking through it.
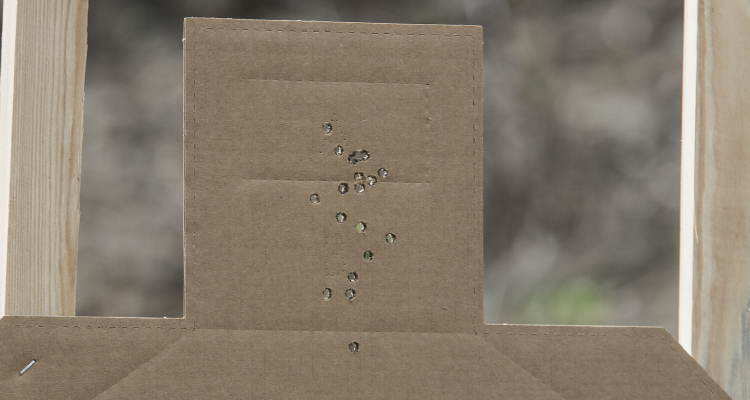
Your zero is very critical, especially if you want to be accurate at distance. When sighting in, have your dot’s brightness turned down as low as you can get it before it starts to disappear. If you try to zero with your dot on high, it will cover up more of your target and keep you from getting precise shots. Remember that your eyes are muscles and they fatigue, so if your dot starts to disappear, either stop and close your eyes for a bit or turn your dot up another notch.
When zeroing, also consider what type of environment and distances the majority of your engagements will take place, and then learn what your round is doing at 100-yard increments after that.
I personally like a 36-yard zero because it give me a 15 inches combat effective hit all of the way out to 400 yards without having to make any adjustments. If I point center mass and have no left to right deviation, I will get hits. At 500, I just hold at the top of the target and the round will hit center mass again. I prefer to keep things as simple as possible with the least amount of info to remember.
Learn more about sighting in your red dot here: https://www.leupold.com/blog/post/how-to-sight-in-a-red-dot

Mechanical offset is the difference between your aim point and where the bullet impacts when you’re shooting at targets that are closer than your zero distance.
For example, if you’re shooting at a target that’s 15 yards away and your zero is at 36 yards, your shots will be a little low. You can account for mechanical offset by adjusting your aiming point as you get closer to your target.
A good rule of thumb is adjusting your aim point by the same distance your optic is mounted above your barrel. So if your optic is one inch above your barrel, aim one inch high for closer shots.
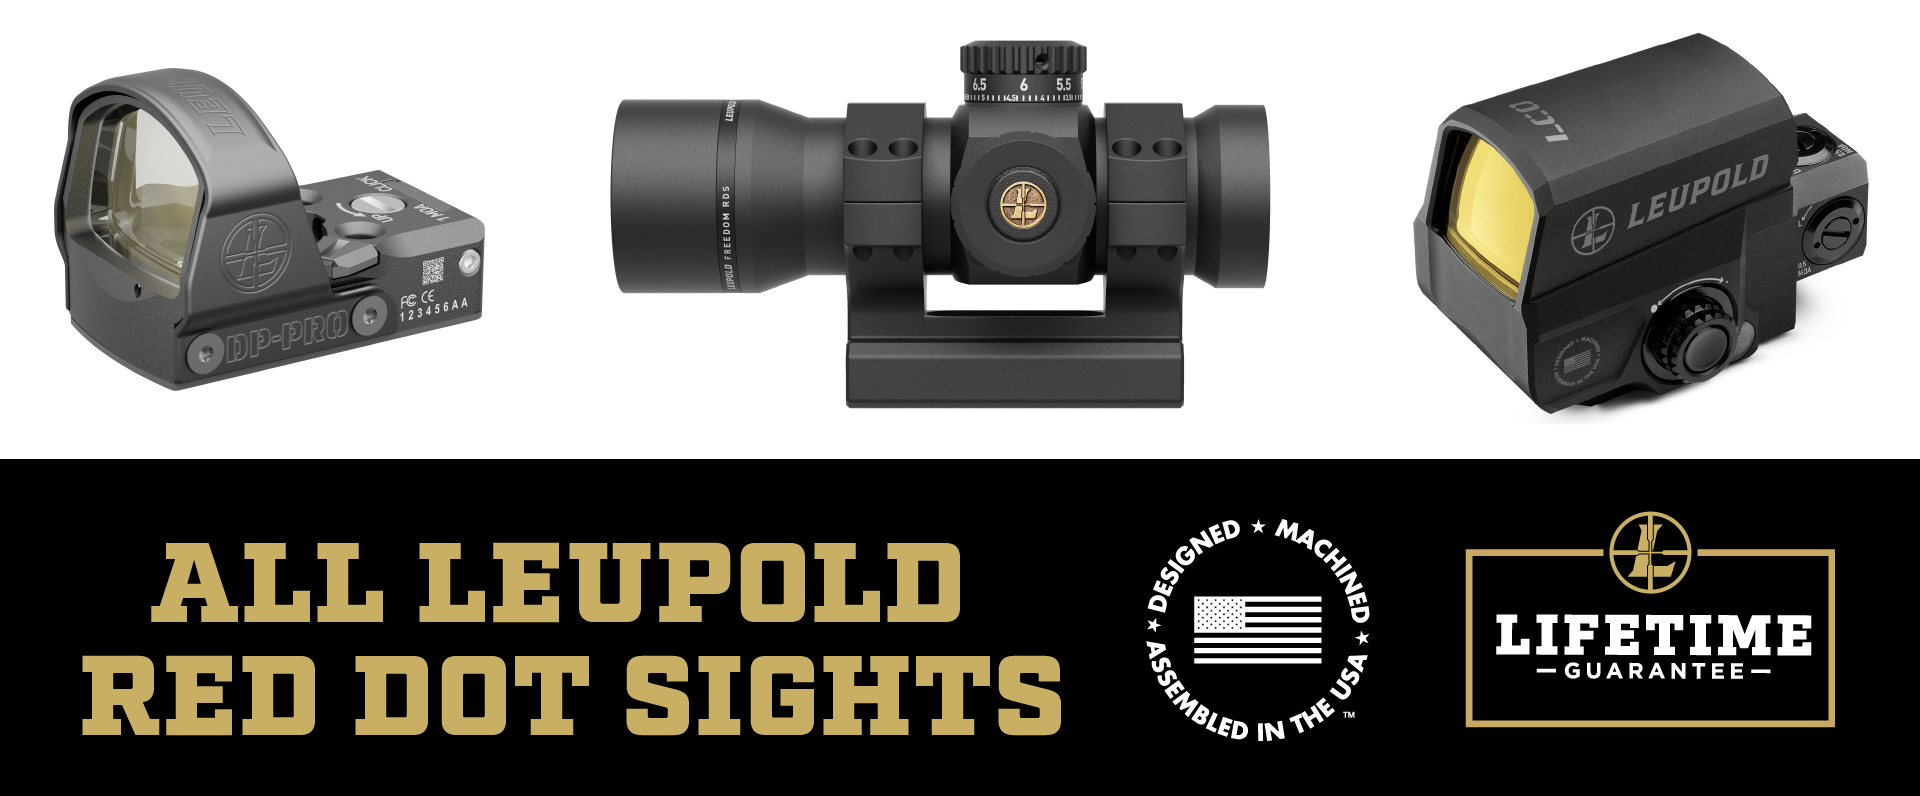
Freedom RDS
Delta Point Pro
LCO
You just got a brand new AR or pistol, picked out the red dot you've been eyeing, and now are ready to hit the range. But how do you go about getting everything setup properly? We called in a heavy hitter in the Close Quarters Battle (CQB) training world to dish out some some tips.
Garett Schwindel served in the elite 2nd Ranger Battalion, 75th Ranger Regiment and has 14 deployments under his belt. While serving, he also acted as a U.S. State Department Lead Firearms Instructor. This means he didn’t just use the gear, he instructed thousands upon thousands of US military members, private contractors, and foreign military and police on how to use it, as well. Here’s three things you need to know to get up and running.
When mounting a red dot, location on the firearm is key.
I tend to mount mine towards the rear of the firearm. Why? Less weight on the end of the gun gives you more barrel control. It allows you to snap the weapon up quicker when acquiring a target. It also allows for quicker deceleration when stopping on the target.
Another reason I prefer mounting my red dot towards the rear of the firearm is that the closer the window of the red dot is to your eye, the larger your field-of-view will be when looking through it.

Your zero is very critical, especially if you want to be accurate at distance. When sighting in, have your dot’s brightness turned down as low as you can get it before it starts to disappear. If you try to zero with your dot on high, it will cover up more of your target and keep you from getting precise shots. Remember that your eyes are muscles and they fatigue, so if your dot starts to disappear, either stop and close your eyes for a bit or turn your dot up another notch.
When zeroing, also consider what type of environment and distances the majority of your engagements will take place, and then learn what your round is doing at 100-yard increments after that.
I personally like a 36-yard zero because it give me a 15 inches combat effective hit all of the way out to 400 yards without having to make any adjustments. If I point center mass and have no left to right deviation, I will get hits. At 500, I just hold at the top of the target and the round will hit center mass again. I prefer to keep things as simple as possible with the least amount of info to remember.

Mechanical offset is the difference between your aim point and where the bullet impacts when you’re shooting at targets that are closer than your zero distance.
For example, if you’re shooting at a target that’s 15 yards away and your zero is at 36 yards, your shots will be a little low. You can account for mechanical offset by adjusting your aiming point as you get closer to your target.
A good rule of thumb is adjusting your aim point by the same distance your optic is mounted above your barrel. So if your optic is one inch above your barrel, aim one inch high for closer shots.
