
Red dot sights are more popular now than they've ever been. From AR's to pistols to shotguns and even lever-actions, red dots have proven themselves to be an extremely important tool. But while red dots are intuitive to use, getting them mounted and sighted in can be frustrating. In this article, we'll simplify the process and show you some easy tips and tricks to get you on target quickly.
AR PLATFORMS
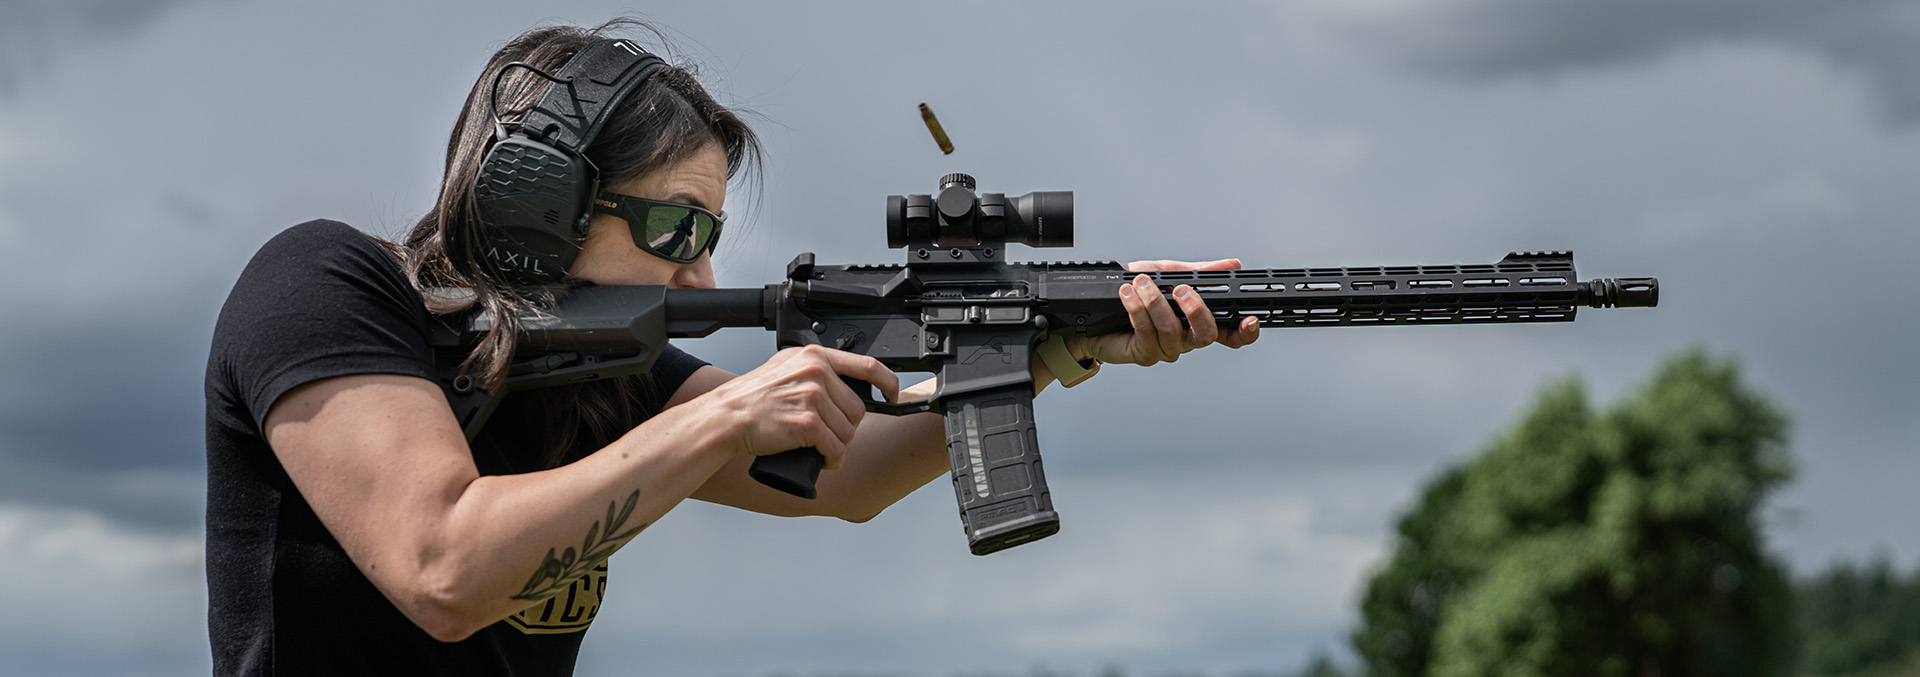
The benefit of an AR platform is its uniformity. They all use the same Picatinny rail, which makes mounting really easy. And most red dots either come with or have mounts available that fit directly onto the rail. The other benefit of the rail system is the ability to mount the sight wherever you want it. Since most red dots have infinite eye-relief (the distance from the sight to the shooter's eye), you can mount them further towards the muzzle or back towards your eye, and they'll work just fine. This is handy if you have other accessories that take up rail space like lights, iron sights, or night vision.
Once the red dot is mounted, you'll need to determine at what distance you want it zeroed. This comes down to personal preference. Some people like a 50 yard zero since it also zeros at 200 yards (think arc of the bullet - the round is still going up at 50 yards but comes back down across your zero at 200 yards), or 25 yards to help eliminate mechanical offset (if you're zeroed at a longer distance, the closer you get to your target, the bigger the spread is between your aiming point and impact point). But whatever your choice is, the zeroing method is the same.

If you already have iron sights on the rifle that are zeroed you're ahead of the game. Simply adjust your windage and elevation adjustments on the optic until the dot is sitting right on top of the front post of the iron sight - also referred to as lollipopping. Once the dot is centered, send a few rounds down range. You should be on target somewhere. Then make the appropriate adjustments until you're happy with your impact placement. Remember, Leupold scopes are set up so that the adjustments affect the direction of the point of impact. So if you're missing high, you'll want to turn your adjustments in the down direction. If you're missing right, you'll want to turn your adjustments in the Left direction and vice versa.
If you don't have zeroed iron sights, the next best method is to bore sight (there are some tools out there that can help, but knowing how boresight the old-fashioned way is a great skill to have). Remove the upper from the lower, remove the charging handle and bolt, and place the upper on a steady platform. You should now be able to look down the barrel to the target. At the desired distance, move the upper around until the target is in the center of the barrel. Now raise your head up and look through the optic. Move your dot by turning your elevation and windage adjustments until the dot is centered on the target. It's a good idea to take another look down the barrel to make sure the upper didn't move while adjusting the sight. If it's off, realign the barrel and target and adjust the sight again. Then reassemble the rifle, send a round down range, and adjust the point of impact accordingly.
HANDGUNS
Getting a red dot mounted and sighted in on a handgun may seem like it's hard, but it's actually fairly simple. More and more pistol models come with optics-ready mounting features that simplify the process. If yours doesn't, you may be able to mount the sight using the rear iron dovetail slot. Or you can take it to a certified gunsmith, who can mill out a platform that the sight can directly mount to.
Once mounted, simply adjust the dot until it looks like it's sitting right on top of the front iron sight. Stand 5 yards from a paper target and fire a shot. You should be on paper somewhere and be able to see what direction you need to move your point of impact. Adjust the sight accordingly and fire again. Repeat this until you're satisfied with the impact point.

Now that you've aligned everything at 5 yards, you may want to zero the pistol at a different distance, maybe 15 or 20 yards. Move to the desired distance and shoot 3-4 rounds. Most likely your elevation adjustment will need to be moved. Adjust the sight accordingly and shoot 3-4 more times to confirm. Repeat adjusting if necessary.